Running zCFD
zCFD is designed to exploit parallelism in the target computing hardware, making use of multiple processes (MPI), multiple threads per CPU process (OpenMP) and / or many threads per GPU. zCFD will handle most parallel functions automatically, so the user just needs to specify how much, and what type, of resource to use for a given run.
Command Line Execution
zCFD includes an in-built command-line environment, which should be activated either when run directly or via a cluster management and job scheduling system, such as Slurm.
>source /INSTALL_LOCATION/zCFD-version/bin/activate
This sets up the environment to enable execution of the specific version. When within the command-line environment, the command prompt will show a zCFD prefix:
(zCFD) >
To deactivate the command line environment, returning the environment to the previous state use:
(zCFD) >zdeactivate
Your command prompt should return to its normal appearance.
To run zCFD on the command-line:
(zCFD) > run_zcfd -n <num_tasks> -d <device_type> -p <mesh_name> -c <case_name>
where:
Parameter |
Value |
Description |
|---|---|---|
num_tasks |
Integer |
The number of partitions (one per device socket - CPU or GPU) |
device_type |
CPU or GPU |
Specifies whether or not to use GPU(s) if present |
mesh_name |
String |
The name of the mesh file (<mesh>.h5) |
case_name |
String |
The name of the control dictionary (<control_dict>.py) |
For example, to run zCFD from the command-line environment on a desktop computer with a single 12-core CPU processor and no GPU:
(zCFD) >run_zcfd -n 1 -d cpu -p <mesh_name> -c <case_name>
By default, zCFD will use all 12 cores via OpenMP unless a specific number is required. To run the above case using only 6 cores (there will be one thread per CPU core):
(zCFD) >export OMP_NUM_THREADS=6; run_zcfd -n 1 -d cpu -p <mesh_name> -c <case_name>
To run zCFD on a desktop computer with a single CPU and two GPUs:
(zCFD) >run_zcfd -n 2 -d gpu -p <mesh_name> -c <case_name>
Input Validation
zCFD provides an input validation script which can be used to check the solver control dictionary before run time reducing the likelihood of a job spending a long time queuing only to fail at start up.
The script can be executed from the zCFD environment as follows:
(zCFD) >validate_input <case_name> [-m <mesh_name>]

Validating parameters dictionary...
Parameters dictionary is valid
Checking BC_, FR_, FZ_, IC_ and TR_ numbering...
IC_ numbering is correct
FR_ numbering is correct
BC_ numbering is correct
zCFD input file <case_name> is valid
If the -m option is given with a mesh file the script will check whether any zones specified as lists to boundary conditions, transforms or reports in the input exist in the mesh.
Overriding Mesh and Case Names
For more advanced simulations with overset meshes (see overset) an override dictionary can be supplied as an additional argument to the command-line, in interactive mode or within a batch submission script, to specify multiple meshes and associated control dictionaries:
(zCFD) >run_zcfd -n 2 -d gpu -f <override_file>
An example override.py file for a background domain with a single rotating turbine would be:
override = {'problem_case_pair': [('background.h5', 'background.py'),
                                  ('turbine.h5', 'turbine.py')]}
Batch Queue Submission
To run zCFD on a compute cluster with a queuing system (such as Slurm), the command-line environment activation is included within the submission script:
Example Slurm submission script “run_zcfd.sub”:
#!/bin/bash
#SBATCH -J account_name
#SBATCH --output zcfd.out
#SBATCH --nodes 2
#SBATCH --ntasks 4
#SBATCH --exclusive
#SBATCH --no-requeue
#SBATCH --time=10:00:00
#SBATCH --gres=gpu:2
#SBATCH --cpus-per-task=16
source /INSTALL_LOCATION/zCFD-version/bin/activate
run_zcfd -n 4 -d gpu -p <mesh_name> -c <case_name>
In this system we have 2 nodes, each with 2 GPUs. We allocate one task per GPU, giving a total of 4 tasks. Note that num_tasks, in this case 4, on the last line should match Slurm “ntasks” on line 5. The case is, optionally, run in “exclusive” mode which means that zCFD has uncontested use of the devices. In this case we have a 64-core CPU, giving 16 CPU cores for each of the 4 tasks. The “gres” line tells zCFD that there are 2 GPUs available on each node.
The submission script would be submitted from the command-line:
sbatch run_zcfd.sub
The job can then be managed using the standard Slurm commands.
Note
Users unfamiliar with the batch submission parameters in a specific system should consult the system administrator.
EPIC
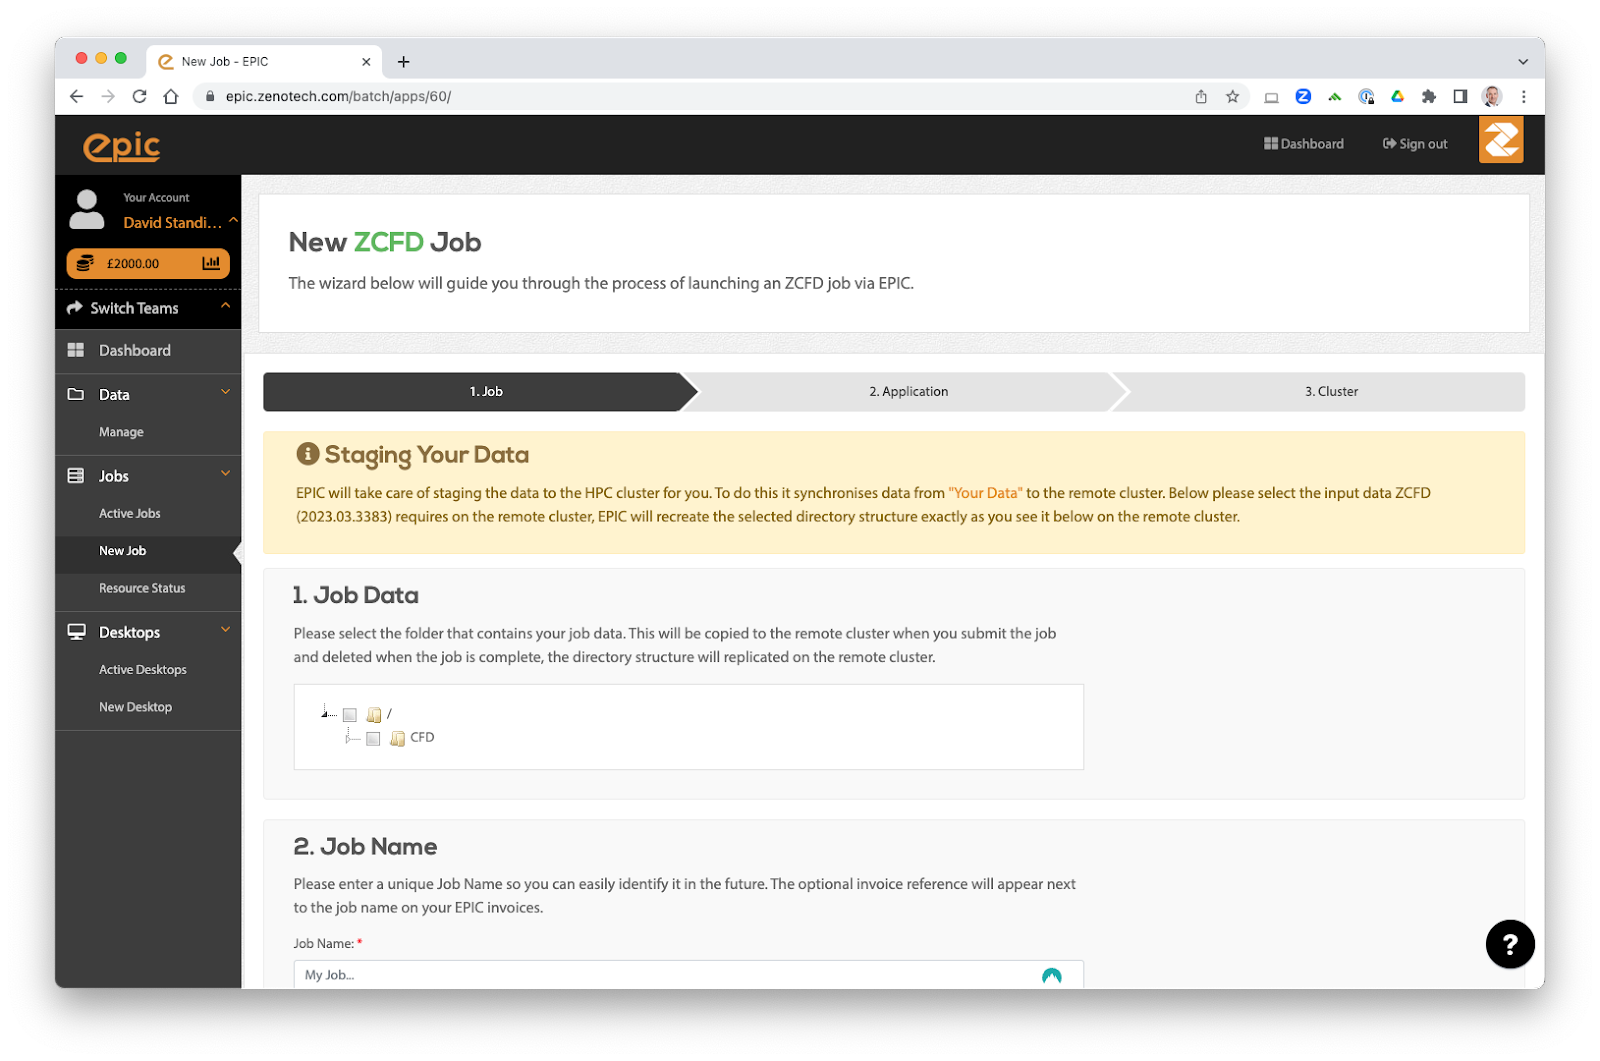
For larger jobs or where resource availability is limited, EPIC allows users to submit zCFD jobs to a range of on-demand computing resources in an intuitive and secure way. EPIC also provides access to interactive post-processing environments without the need to download large data files.
EPIC Desktops
What are EPIC Desktops?
EPIC provides a way of starting an interactive Linux desktop in the Cloud, these are known as EPIC Desktops. The Desktops come with a range of preinstalled software, including zCFD. Data can automatically be synchronised between EPIC and the Desktops you launch.
Launching a desktop
To launch an EPIC Desktop you need an account on EPIC, you can sign up directly on the website for free. Once you have an account, navigate to Desktops on the right hand menu to launch a new Desktop. The desktops come in a variety of sizes and all have GPUs which can be used for running zCFD in GPU mode as well as for accelerated visualisation.
If you organisation already uses EPIC then speak to your account manager for an invite to join the correct EPIC team.
Managing Data
The data you select when launching the desktop will be made available to you in the /home/epic/data directory on the desktop. If you selected the “Online” option when launching the desktop then any changes or new files you make in that directory will be synchronised with EPIC.
Each node also has a /scratch/ directory, this is a local high performance drive that only exists while the node is online. It is recommended to use this directory for running any zCFD jobs on the node and then copy the results back to /home/epic/data when you are finished.
Note /scratch/ will be deleted when the node terminates.
Modules
The desktops use Linux modules to load applications. To see what applications are available launch a new terminal and run:
module avail
You can then load the application using the module load command, for example to load the latest zCFD:
module load zcfd/latest
This will add zCFD to your path and enable you to start using it in that terminal.
Loading zCFD
The best way to load zCFD is to load the module and then run the activate script, this will activate the full zCFD environment.
For example:
module load zcfd/latest
. activate
You can then start using zCFD:
run_zcfd
zCFD Licence
After loading zCFD you need to specify which licence to use, you can do this by either copying your zcfd.lic file into your working directory, alongside your mesh and control dictionary, or by setting the RLM_LICENSE_PASSWORD environment variable. The password can be found inside your zcfd licence file.
For example:
module load zcfd/latest
. activate
export RLM_LICENSE_PASSWORD=mypassword
Running Paraview
Paraview is also available on the desktops and can be loaded using modules and then started from the terminal:
module load paraview
paraview
Using pvserver
To load a zCFD .h5 file you can use the Paraview server that is bundled with zCFD and then connect to it using Paraview on the desktop. To start the server run the following in the terminal:
module load zcfd/latest
. activate
pvserver
You can then launch Paraview from another terminal by running:
module load paraview
paraview
By default pvserver will be listening for a connection on port 11111. To connect to the zCFD pvserver do the following in Paraview:
From the File menu select Connect.
Click “Add server”.
Change the server Name to “zcfd” but leave all the other settings as the defaults, click “Configure”. On the next screen just click “Save”.
Click “Connect”.
The connection should be made and you will see a “Client connected” message output by pvserver.
You can then load your zCFD .h5 files via pvserver
Note The version of Paraview used to connect must match the version used in zCFD, if you get a client connection error please check the version numbers.
Using Jupyter
We also recommend the use of Jupyter Notebooks for post-processing zCFD runs. This is one of the easiest ways to use Python, via an interactive notebook on your local computer. The notebook is a locally hosted server that you can access via a web-browser. Jupyter is included in the zCFD distribution and notebooks for visualising the residual data will automatically be created when you run a zCFD case.
To automatically start up notebook server on your computer within the zCFD environment run:
(zCFD) >start_lab
zCFD Environment Variables
The following table gives some of the environment variables that can be set before running zCFD. These are generally for advanced users can can impact the way zCFD runs on you system.
Variable |
Default |
Description |
|---|---|---|
ZCFD_GPUDIRECT |
unset |
Set if you are using NVIDIA GPU direct (custom builds only) with a CUDA aware mpi implementation. |
ZCFD_PRE_LAUNCH |
unset |
This option allows a script to be run just before the code is launched so that the user can override any environment that has been automatically setup. |
CUDA_VISIBLE_DEVICES |
unset |
This option restricts the list of GPU devices that zCFD will be able to use. Typically this can be used to remove an incompatible GPU or the display GPU from the list of candidate GPUs. |
ZCFD_DISABLE_PINNED |
unset |
When set this causes the GPU memory allocated to be page-able and not pinned memory. This should always be used on Windows in WSL as CUDA inside WSL has a fixed low threshold for the maximum amount of allowed pinned memory. |
ZCFD_NCCL |
unset |
Set to 1 to make use of the NVIDIA NCCL library during parallel exchanges. |
PMPI_CUDA |
unset |
Set if you are running with platform MPI (custom builds only) to enable GPU aware MPI memory allocations |
MPICH_GPU_SUPPORT_ENABLED |
unset |
Set to 1 if you are running with Cray MPI (custom builds only) to enable GPU aware MPI memory allocations |
ZCFD_DISPATCH_SYNC |
unset |
Makes all kernel launches synchronous. |